使用在线 ide 和 pages 服务搭建一个免费的 Hexo 博客
一直有着想写一点东西的想法,想有个自己的博客。但是现在国内的知名博客服务(特指 CSXN)好多广告 = =,最后在知乎发现了 Hexo 这么个东西。自己就能搭建一个国内访问快无广告自定义颇多的炫酷博客。
Hexo是一个用 nodejs 编写的静态博客框架,可以将生成的静态博客网页托管在服务器上。- 国外的
github.com和国内的coding.net都提供免费的静态网页托管服务。 c9.io提供免费的在线 webide 服务- 好难过,评论说现在注册 c9 要绑定信用卡了,这是真的这不是梦。
- c9 现在被亚马逊收购了,可以在自己的 ec2 实例上免费使用。
优点:
- 有网络就可以更新博客,只需要一个浏览器。
- 源文件在云端,可下载回本地。
- 可实时预览 markdown 文件。
- 完善的 linux 终端, 有 root 权限。
我在 c9 的 workspace:https://ide.c9.io/lengthmin/hexo/
安装
关于 Hexo
- A fast, simple & powerful blog framework
- 快速、简洁且高效的博客框架
作者:Tommy Chen
准备准备
- 注册 coding.net | c9.io
注意:c9 没有被墙,但是注册的时候需要输入验证码,验证码使用的是 Google 的 reCAPTCHA 服务。因此注册的时候需要科学上网。
在你的 c9 控制台界面,创建一个 workspace,名字 hexo (自己喜欢就好) 选择模板为 blank 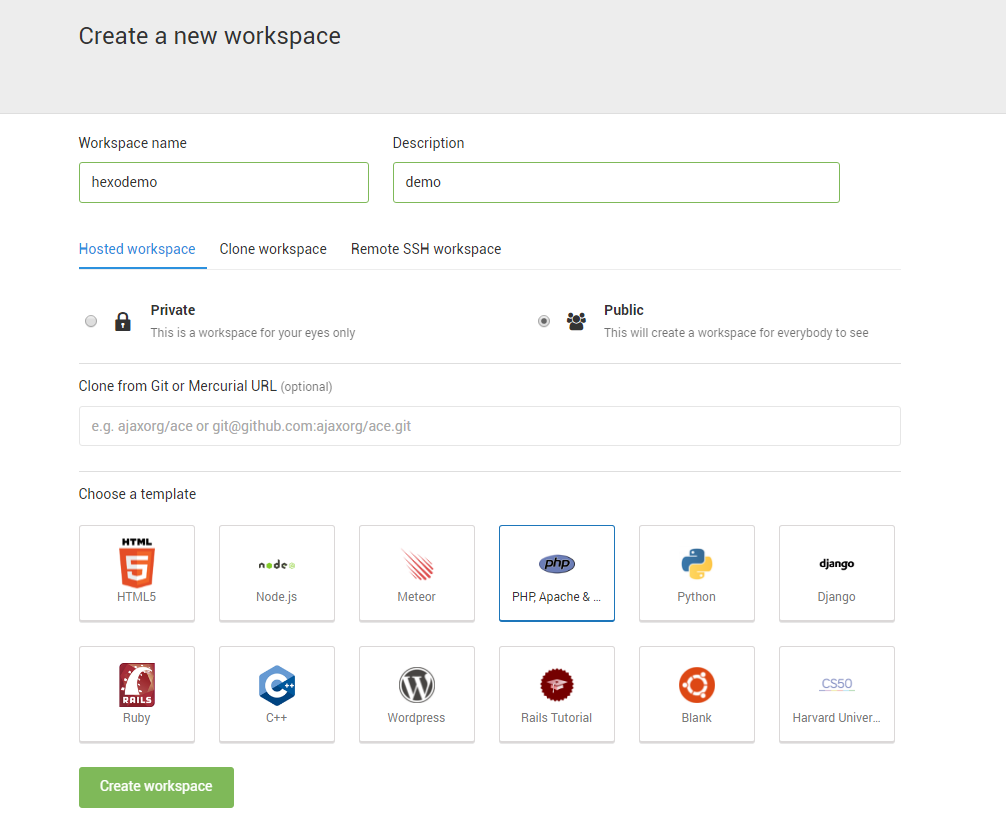 c9 的控制台是 ubuntu 系统,并且已经装了我们搭建 Hexo 需要的
 nodejs 跟 git。
开始安装
打开 workspace, 在终端中输入
1 | npm install hexo-cli -g |
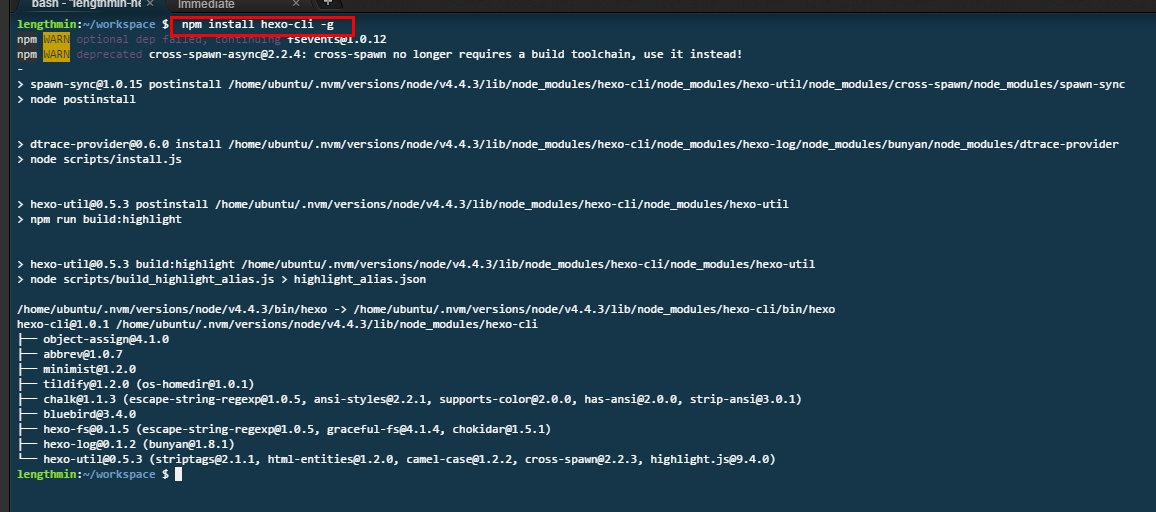 等待安装成功
创建一个 blog 文件夹,
1 | mkdir blog |
安装 Hexo
1 | cd blog |
这样 Hexo 就安装完成了,我们先预览一下
1 | hexo s -p 8081 |
- 先按照我这么输命令,因为 c9 只允许使用 8080,8081,8082 三个端口,而 Hexo 默认的端口是 4000,所以如果只使用
hexo s的话就预览不了。后面讲命令的时候会再提一下。

点击终端出现的地址,出现如下图的话就说明安装好了。 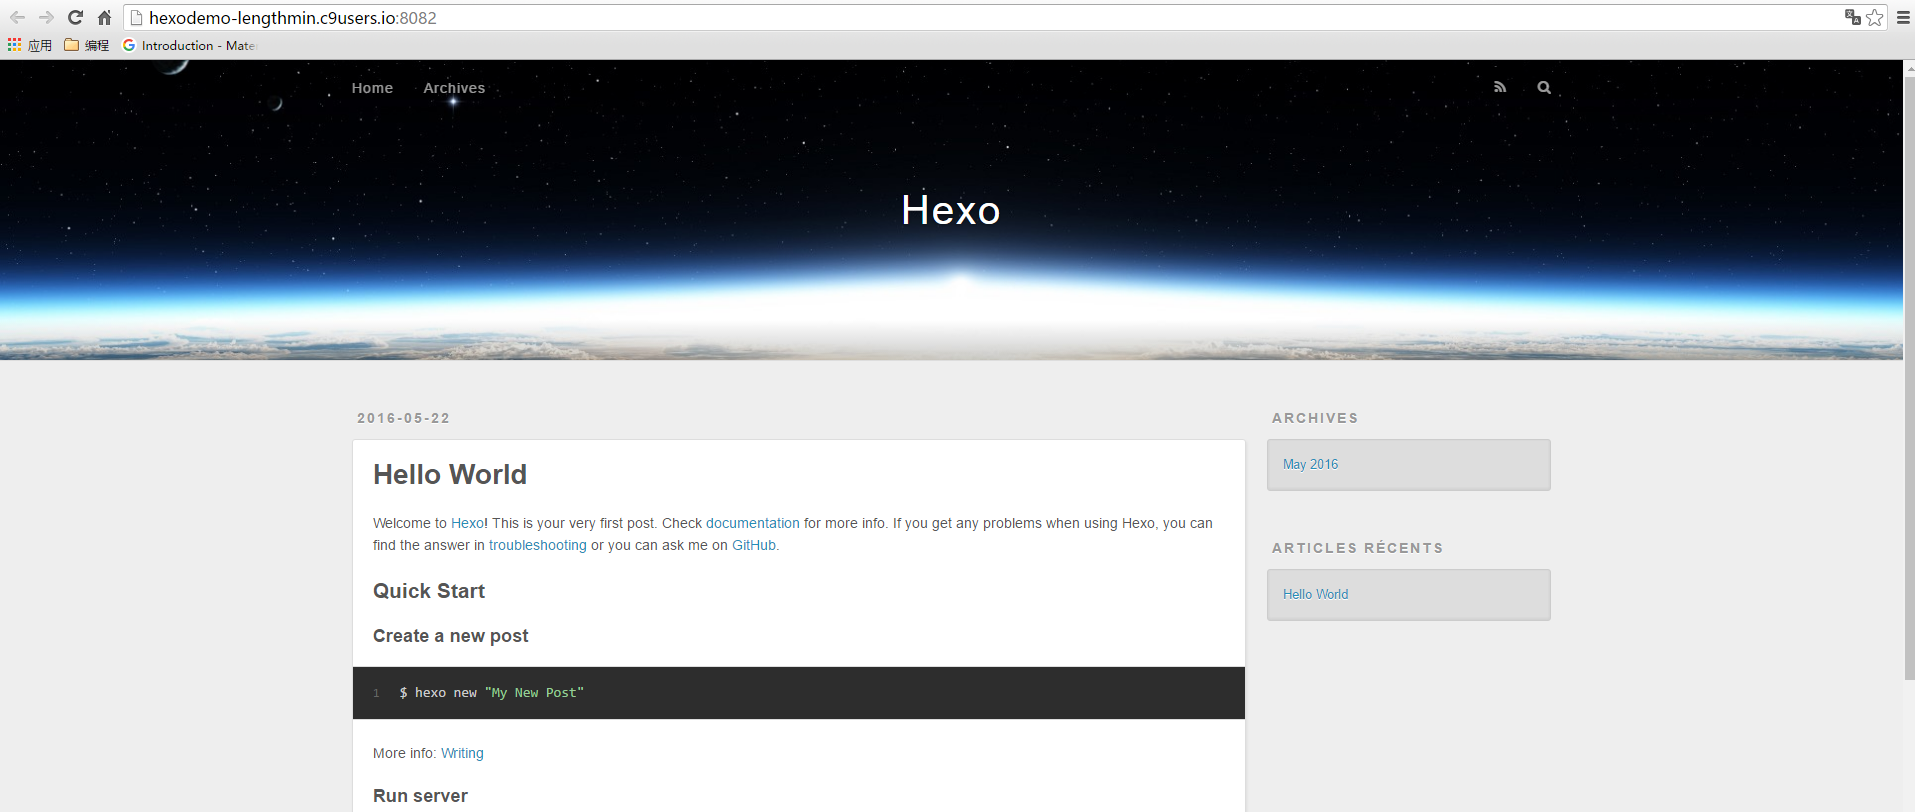
调教 hexo 请参见《hexo 你的博客》在这推荐两个主题: yelee 跟 next
hexo 的常用命令
到这里,已经可以使用 Hexo 了 hexo 的常用命令有这些,都要在 Hexo 的根目录下执行
1 | hexo g |
在 c9 使用hexo s时注意事项
c9 只允许用户使用 8080、8081、8082 三个端口。并且 8080 端口已被占用, 所以使用默认的hexo server是预览不了的,因为你进不去 4000 这个端口。要把hexo server的命令改成
1 | hexo server -p 端口号 |
也可以在站点配置文件_config.yml加入:
1 | server: |
以后只要使用hexo s就可以了。
部署博客
配置 SSH
coding 的中文 ssh 配置帮助页面 https://coding.net/help/doc/git/ssh-key.html c9 已经默认生成了 ssh 密钥, ssh 密钥在 ~/.ssh/id_rsa.pub
把这个密钥添加到 coding 就好了。
- 点击文件目录右上角的齿轮 - show home in favorite ,就能查看根目录了。
配置 Deploy
在 coding 中创建一个仓库名字为你的 coding 用户名,不区分大小写。创建完仓库后,复制你的 SSH 地址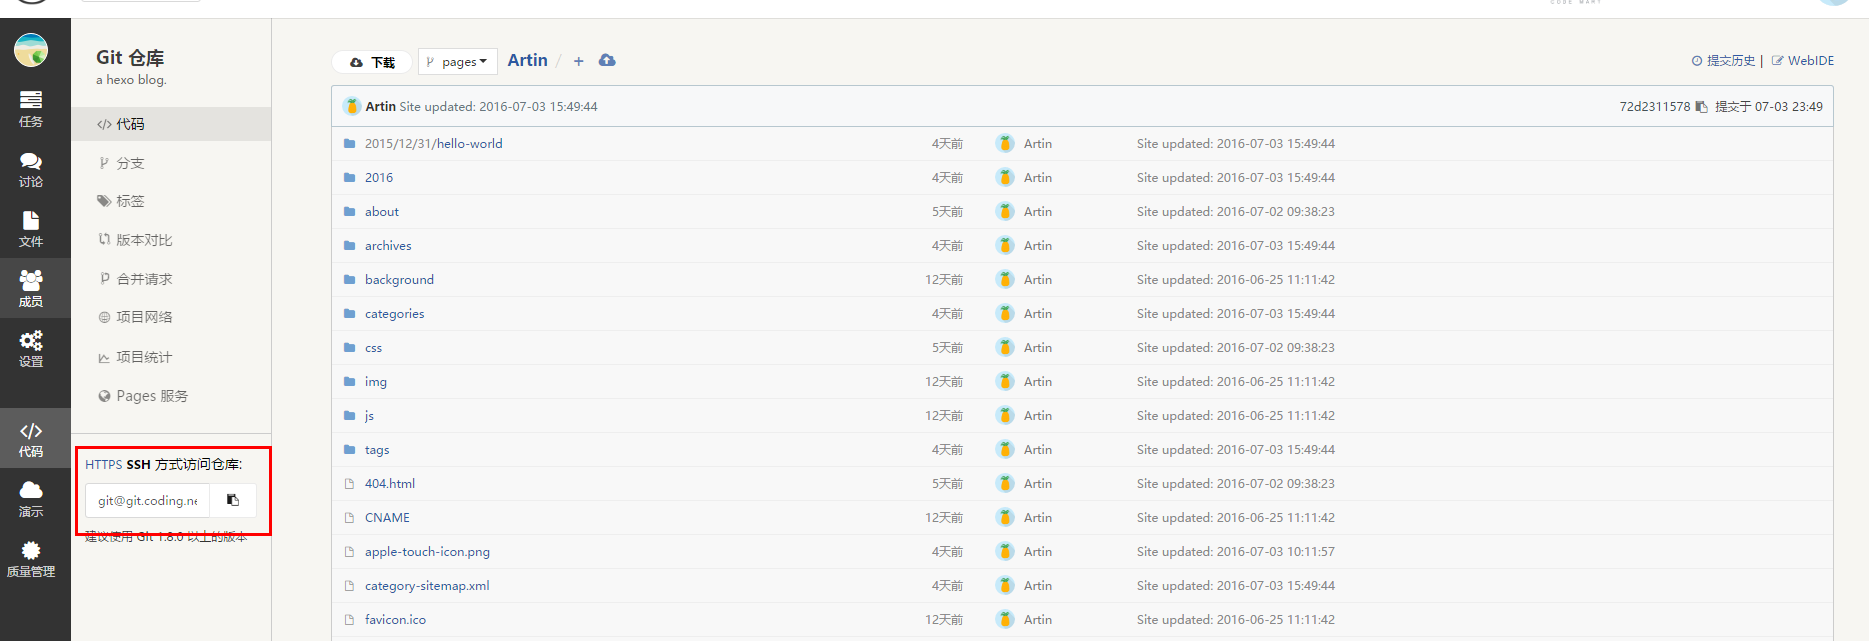 在 hexo 根目录下的
 _config.yml中翻到尾部找到下面这串代码。然后修改 coding 后面的地址为你的仓库的 ssh 地址,这里的 master 是分支的意思。。
一定要注意改成你自己的 ssh 地址,注意是 ssh 地址。而且
coding:后面是有个空格的,这就是 yaml 语言的格式,以后编辑_config.yml也要注意的。
1 | deploy: |
部署到 Coding Pages 上
这是 Coding 关于 Pages 的介绍。
首先要安装 git 的插件:
在终端输入
1 | npm install hexo-deployer-git --save |
等待安装完成。
然后输入命令:
1 | hexo clean |
每一次更新博客,都要重新部署。
一些 Tips
修改终端时区
c9 终端的默认时区是 UTC,和中国相差了 8 个时区。终端输入:
1 | sudo dpkg-reconfigure tzdata |
然后进入图形交互界面,选择Asia/Shanghai时区就行了出现下面的提示即为成功
1 | Current default time zone: 'Asia/Shanghai' |
开启 c9 的 markdown 实时预览
写 markdown 时点击工具栏的 Preview,选择第一个 Live Prebiew file。然后屏幕就会变成双栏,左边码 markdown,右边可实时预览。